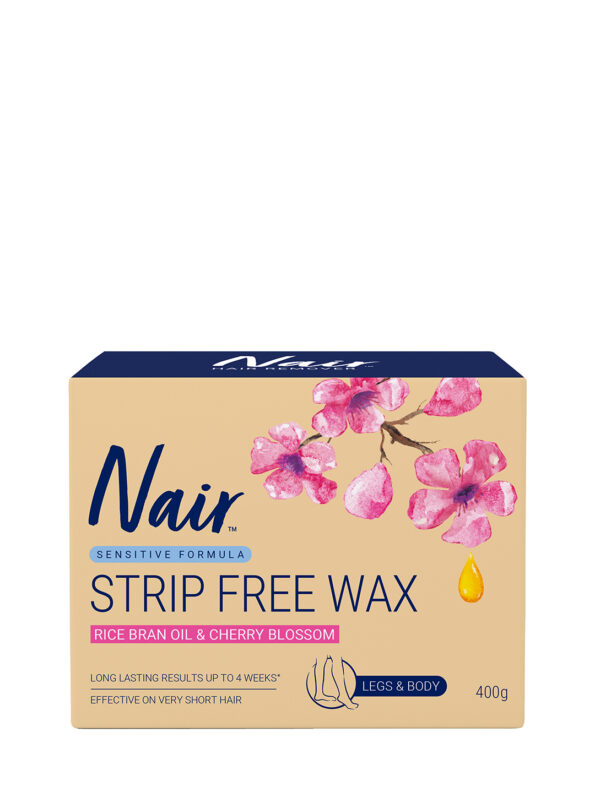
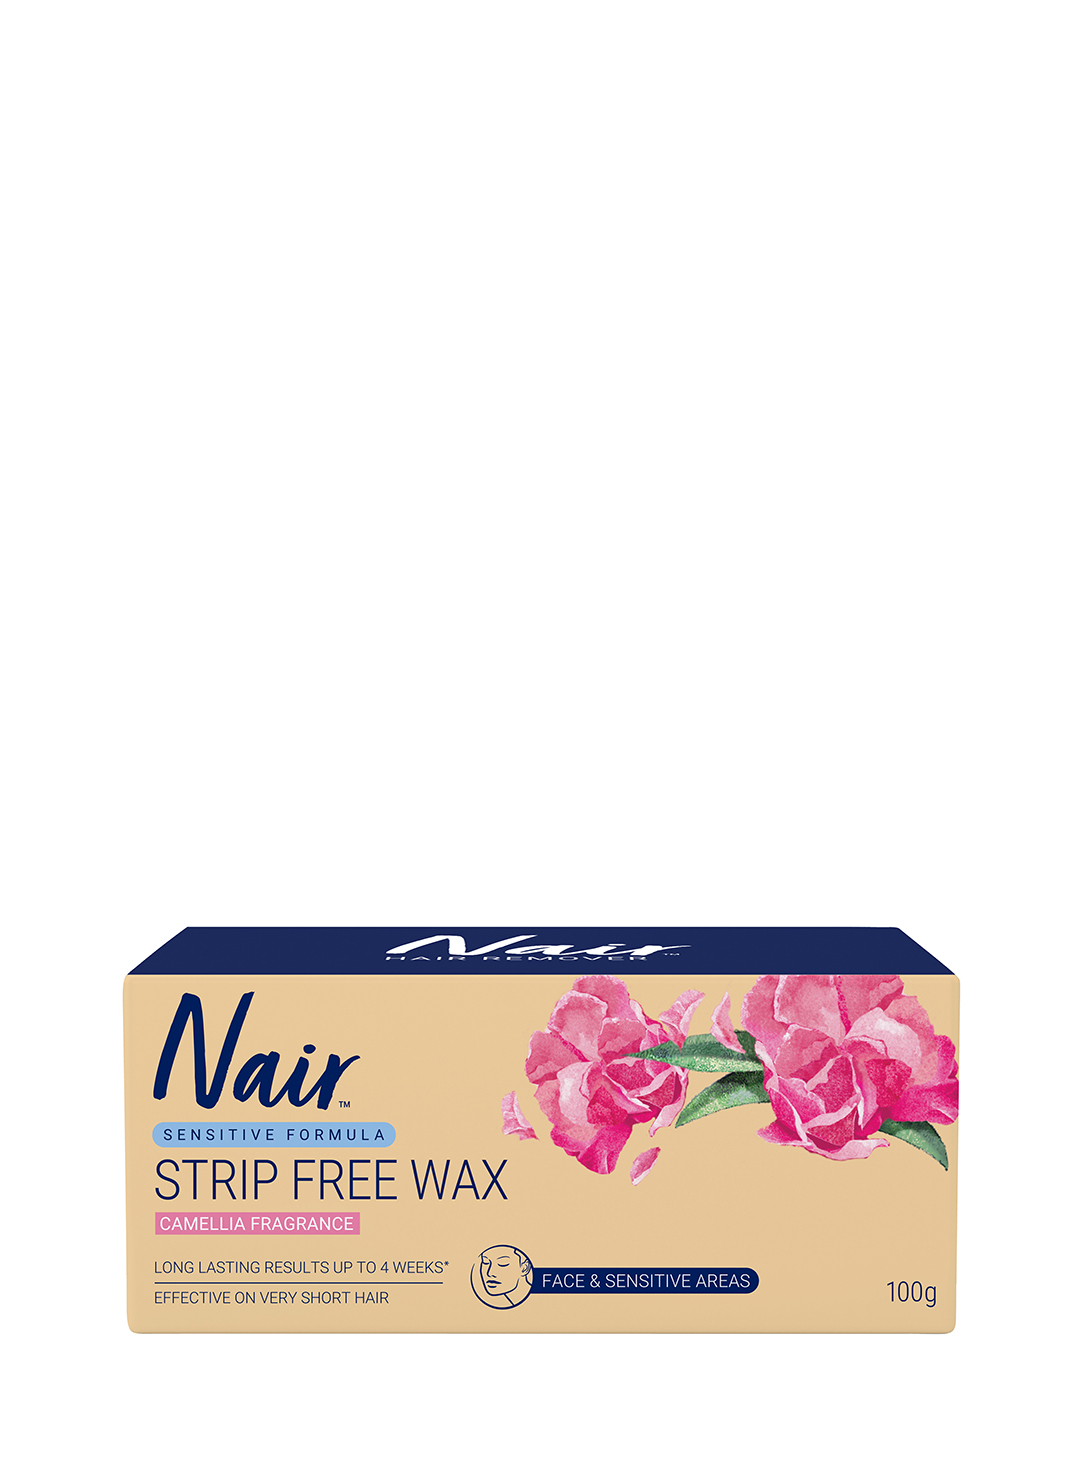
Nair Strip Free Wax Sensitive Hair Removal Liquid Wax 400g
Nair Sensitive Strip Free Wax 400g with Rice Bran Oil & Cherry Blossom is a strip free, peel off wax designed to remove short hair from the legs and body.
-
Skin type
Sensitive
-
results
Lasts up to 4 weeks
-
IDEAL for

LEGS

BIKINI AREA

UNDER ARMS
BEFORE USE, IT IS ESSENTIAL TO READ THE INSTRUCTIONS AND CAREFULLY FOLLOW EACH OF THE STEPS IT DESCRIBES.
1: CONTRAINDICATIONS / PRECAUTIONS
- Only apply to healthy skin. Do not apply the wax to the face, wounds, cuts, eczema, spots, beauty spots, chapped, damaged, sunburnt or irritated skin, varicose veins, warts, mucous membranes, the nose, ears, nipples, peri-anal and genital areas or the eyelashes.
- Not suitable for diabetics, the elderly, slack skin or people suffering from circulatory disorders.
- After waxing, it is recommended that you wait 24 hours before sun exposure or applying deodorant, antiperspirant or fragrance.
- Always leave at least 72 hours between waxing sessions.
- Do not wax within an hour following a bath or shower, as the skin is still too warm or too damp.
- Skin should be dry and without any traces of oil, cream, lotion or sweat. In hot, humid weather, sparingly apply talc to the areas to be waxed.
PATCH TEST
- Test the product every time before using this wax by applying it to a small part of the area to be waxed, following the instructions below. Wait 24 hours. If the skin appears normal, proceed with the waxing.
- On the bikini line and underarms, it is not recommended that you apply wax more than twice to the same area during a single waxing session.
KEEP OUT OF THE REACH OF CHILDREN.
- Not recommended for use by teenagers without the supervision of an adult.
- Do not ingest. If ingested, consult a doctor.
- Do not use the product near the eyes. In the event of accidental contact with the eyes, rinse under cold water and consult a doctor immediately
2: HEATING AND PREPARING THE WAX
FOLLOW EACH OF THE FOLLOWING STEPS IN THIS INSTRUCTION LEAFLET EXACTLY. This wax is specially designed for fast preparation in the MICROWAVE WITH TURNPLATE only.
It is a professional wax that requires extreme PRECISION from the user in terms of HEATING TIME, LEAVING TO REST, AND MIXING.
STEP 1 – PRIOR CAUTIONS
All overheated wax can cause serious burns. In the event of a burn, immediately rinse the area under cold water for at least 10 minutes. Do not attempt to remove the wax. Consult a doctor. Ensure that the jar of wax has no visible flaws, deformities or anti-theft tags left on. Place the jar WITH ITS CARDBOARD LID in a clean microwave without any other object, including the spatula, packaging, plate or any other accessory. The cardboard lid prevents any wax from escaping when it is heated and mixed.
STEP 2 – MICROWAVE HEATING INSTRUCTIONS
The jar must be placed off-centre on the revolving plate. Cover the jar only with its cardboard lid when heating. Ensure that the microwave is set to the heating function. If using this wax for the first time, heat the wax with its cardboard lid following the heating times indicated in the table below. Adjust the heating times depending on the amount of wax in the jar. The times given are for information only and may vary according to the power and model of your microwave. If the microwave does not have a digital timer (precisely indicated minutes and seconds), check the heating time using a watch with a second hand. Watch the product during heating so that you can stop the microwave immediately in the event of abnormal behaviour (sparks, smoke, etc.).
After heating the product, leave the jar to rest in the microwave, turned off and the door closed, without touching it, for the time indicated in the table below. This rest time allows the heat to diffuse properly through the wax.
After leaving to rest, check the appearance of the jar before touching it: if it is smoking and/or the jar and/or cardboard lid is distorted, it means the wax has been overheated. Do not touch the jar in the microwave during the initial resting time. For 400g containers, please allow further 25 minutes for cooling before handling.
STEP 3 – MIXING THE WAX
Once the resting time is over:
- Gently remove the jar from the microwave using the two handles, taking care that they are not too hot. Do not remove the lid during resting and mixing time. Hold the pot upright so as not to spill the wax.
Be careful, do not attempt to force the spatula, as the crust may be covering very hot and very liquid wax.
- If the spatula doesn’t penetrate easily in the wax, this one is not soft enough to be used, remove slowly the spatula without removing the lid and put the jar back into the microwave, with the cardboard lid and heat it in 10-second intervals – never more than this – as many times as necessary.
- If the spatula penetrates easily in the wax,mix gently. Remove the lid, leaving the spatula in the tub. The wax is ready when it has the texture of runny honey. Keep the cardboard lid for subsequent use.
STEP 4 – PATCH TEST
Check the temperature of the wax before any application, applying a small amount of wax to the inside of the wrist with the tip of the spatula (the wax should feel warm and easy to spread in thin layers). If the wax is too hot, let it cool down for a few minutes. For subsequent use of this wax with the same microwave, adjust the heating time required according to your first use. Be sure to follow the instructions in this leaflet before every use.
3: WAXING
Before you start, ensure the following is within reach:
- This instruction leaflet
- The wooden spatula
- Talc for waxing the bikini line and underarms
Our practical advice: Waxing should ideally be performed in a tiled or protected room, to make it easier to clean any residues of hot wax that could fall on the floor. Place the jar of hot wax on a flat and protected surface (with a newspaper, for example).
Our professional advice: 48 hours before waxing, prepare your skin by exfoliating the area to be waxed, which will make it easier to wax and prevent the formation of hairs under the skin surface. If this is your first time waxing, we recommend that you wax your legs first. Only wax the sensitive bikini line and underarm areas when you are used to waxing.
APPLYING THE WAX
After performing the patch test and checking the temperature of the wax:
1.Dip the spatula into the jar and remove a large walnut-sized amount of wax, twirling the spatula around to stop the wax from running off.
2.Apply the wax to the top of the area to be waxed and immediately create a thin strip of wax (1-2 mm thick) with the flat part of the spatula, in the direction of hair growth. The strip should be slightly thicker at the edges.
3.Finish the strip with a small raised piece of wax, which will make it easier to remove.
4.Allow the wax strip to dry. Remove it when it no longer feels sticky and when the raised piece lifts easily (no longer sticking to the skin).
REMOVING THE WAX
1.Hold the skin with one hand below the strip. With the other hand, lift the raised part of the wax with the fingertips.
2.Remove the strip quickly, in the opposite direction of application, and as close as possible to the waxed area.
To soothe the skin after removing a strip, immediately place the palm of your hand onto the waxed area, pressing down gently.
WAXING THE LEGS
1.Spread the wax in the direction of hair growth (from the knee to the ankle).
2.Remove the strip in the opposite direction of hair growth.
WAXING THE UNDERARMS
Waxing the underarms requires two steps, as the hairs grow in two different directions (upwards at the top and downwards at the bottom). Hold the hand behind the nape of the neck to tauten the skin.
Apply talc to the area to be waxed before waxing and between each application of wax to make it easier to remove the wax.
STEP 1 – On the upper part of the underarm: Apply the wax towards the elbow and remove it in the opposite direction, quickly and as close as possible to the waxed area.
STEP 2 – On the lower part of the underarm: Apply the wax downwards and remove it in the opposite direction, quickly and as close as possible to the waxed area.
WAXING THE BIKINI LINE
Apply talc to the area to be waxed before waxing and between each application of wax to make it easier to remove the wax.
1.Apply the wax in the direction of hair growth (generally towards the inner thighs).
2.Remove the wax in the opposite direction, quickly and as close as possible to the waxed area.
WAXING THE UPPER LIP
Treat each side of your upper lip separately. Spread the wax in the direction of the hair growth. Hold the cheek skin taut with the free hand and quickly pull the strip off in the opposite direction. Repeat for the other side of the upper lip.
WAXING THE CHIN, CHEEKS, CENTRE BROWS
Spread the wax in the direction of the hair growth. For chin, hold skin on neck taut before pulling the strip in the opposite direction as shown.
Spread wax from cheekbone down. Hold the skin taut on neck or side of face and remove the strip in opposite direction.
For centre brows use as shown.
AFTER WAXING
- Complete the waxing by using the post-waxing wipe provided, or, if required, wipe with a cotton pad soaked in oil.
- Never use water or other products (alcohol or acetone) to remove any remaining wax.
- To remove large amounts of residue, immediately re-apply a used wax strip, or wait for the residue to dry fully before gently scraping it off with a fingernail.
- For fine residue, apply talc to the waxed area in order to see it properly, then rub with the post-waxing wipe provided until it disappears.
- It is normal for some light redness to appear after waxing, which will disappear naturally after a few hours. You can apply a compress of cold water for a few moments to soothe the skin.
- Do not scratch your skin after waxing as this may irritate it.
- Avoid any prolonged sun exposure in the 24 hours following waxing to protect against unwanted reactions.
- Wait 24 hours before using deodorant, antiperspirant, fragrance or any artificial tanning equipment, going swimming or sun exposure.
- To soothe the freshly-waxed area, apply a moisturising cream or oil. If you have some wax left for next time:
- Do not leave the spatula in the jar. Remove as much wax as possible by scraping the spatula against the inner rim of the jar.
- Adjust the heating time to the remaining quantity.
- Keep the jar in the cardboard box, along with the instruction leaflet, the cardboard lid and the spatula for next time.
- Throw away the used wax strips as they cannot be reused.
We advise that you wait 72 hours between applications.
No, as a general rule, waxing the legs is relatively easy and straight forward. You should take greater care in testing when you need to wax your underarms, face and bikini line, as the skin is more sensitive.
Most Nair products can be used for a period of 3 years from the date of manufacture printed on the pack, unless otherwise indicated on the pack. It is important to follow storage conditions.
Yes, you can use baby oil to remove any remaining wax.
Results can last for several weeks. If hair re-grows within a day or two you probably need to practice your technique as you may be snapping off the hair rather than removing from the root. See pack for detailed instructions.
The general guideline for Nair™ Wax products is 1-week's hair growth; however, for Sensitive Strip Free Wax wax products the hair only has to be 2mm. Follow product use and warning instructions for each specific product.
Nair Hair Removers exfoliate skin in addition to removing hair, so using it before a self tanning product will help you to have a more even tan. Wait 24 hours between using Nair products and tanning.
No. It is advised that you wait at least 24 hours before heading out into the sun, please always use a sunscreen.
As a precaution, we advise not to use any Nair products on skin which has been shaved in the last 72 hours.
If you have no adverse or allergic reaction when testing the product as per the directions for use and precautions, there is no reason why you cannot use it. Conducting a small patch test will help.
Yes, you should. The skin is very sensitive and can frequently change its composition with changes in your hormone levels. Since your skin is constantly in a state of change, we advise that it is necessary (not just desirable) to do a patch test each time to avoid any adverse reactions to the ingredients in our products. This is despite our rigorous dermatological testing process – as everyone’s skin is different, at different points.
READ THE ENCLOSED INSTRUCTION LEAFLET COMPLETELY AND CAREFULLY BEFORE USE. NEVER OVERHEAT THE WAX.
CAUTION: Patch test before each use by applying the product to a small part of the area where hair is to be removed. Follow directions and wait 24 hours. If skin appears normal, proceed. Never reapply wax on same area within a 24 hour period. As with any wax treatment, some discomfort may be experienced. Your skin may turn slightly red for a short time after treatment. This is normal and will soon disappear. If the skin to be treated is not held taut, and the wax is not zipped or pulled back very fast and close to the skin, then a pinching effect may be felt, a wax residue will remain on the skin or worse, skin could be removed resulting in injury. Read the instructions carefully, proceed at all times with caution. Do not use in conventional or toaster oven or in saucepan of hot water. Microwaves vary in power output so heating guidelines are an indication only. Take extreme caution when warming the wax not to overheat. Never leave the heating wax unattended. Remember the tub containing the wax will also become hot therefore we recommend placing the tub on a microwaveable plate. Remember to use caution when handling, testing or applying the wax. If it is too hot it could cause you serious injury. Avoid spilling wax.
WARNINGS: Do not use product in the area of the eye. Wax should not be used by people suffering from diabetes or circulatory problems or on areas with varicose veins, moles and warts. Do not wax inside nose or ears, on nipples, perianal, vaginal/genital areas or eyelashes. Do not use on irritated, inflamed or broken skin. Not suitable for people with extra sensitive or problem skin. Not recommended for the elderly or people with loose skin. Do not apply wax over sunburned, chapped, broken or sore skin, cuts, weak scars or eczema. Do not use immediately after a bath. Do not sunbathe 24 hours before waxing or 24 hours after waxing. Do not ingest. Failure to follow these warnings may result in severe skin irritation, skin removal, burns or other injury.
KEEP OUT OF REACH OF CHILDREN.
WAX INGREDIENTS: GLYCERYL ROSINATE, TRIETHYLENE GLYCOL ROSINATE, PARAFFIN, HYDROGENATED STYRENE/BUTADIENE COPOLYMER, CERA MICROCRISTALLINA, MICA, PARFUM, CI 77891, CAMELLIA OLEIFERA SEED OIL, HEXYL CINNAMAL, COUMARIN, LINALOOL, CI 17200, CITRONELLOL, GERANIOL, HYDRATED SILICA, TRIS-BHT MESITYLENE.
AFTER CARE WIPES INGREDIENTS: PARAFFINUM LIQUIDUM, ETHYLHEXYL STEARATE, CETEARYL ETHYLHEXANOATE, ISOPROPYL MYRISTATE, PHENETHYL ALCOHOL,GLYCINE SOJA OIL, BISABOLOL, CAPRYLYL GLYCOL, FARNESOL, CHAMOMILLA RECUTITA FLOWER EXTRACT, BHT, TOCOPHEROL.
This error message is only visible to WordPress admins


